
DIY How-to: Button Pillows

You need:
Pillow insert (or an old throw pillow you want to use)
Material
Felt - Cut out to be the shape you want on your pillow. I used a bird shape for one (found a print online), and a three piece flower for the other.
2 Buttons
To know how much material to use, measure your pillow insert.
-Width of pillow x 2 plus 1 inch for seam allowance
-Length of pillow x 2 plus 4 inches for fold and buttons - you can do more if you want a thicker flap where the buttons will be.
1. Measure and cut material. Use your pillow as your guide. Your material should look like a long rectangle since it is going to meet in the middle where the buttons will be.


2. Fold the material around the pillow. In the middle, fold the ends in two inches and pin. This will be where the button holes and buttons go.

3. Sew the folded ends. Wrap the pillow to double-check size. Remember, you want your pillow cover to be tight.


4. Working with the same ends, mark where the button-holes will be. (If using a button-hole maker with a sewing machine, do a test to see how big the hole is.) One way to make sure the buttons will be equal distance from the sides and each other is to find the middle, then measure about three inches out. Lightly mark with a pencil, so you know where to make the button-hole.


5. Sew your button holes and open them. A trick is to place a pin at the top of the hole, then use your seam-ripper to open the hole.


6. Line up the button hole over where the buttons will be placed. Mark a dot in the middle, then sew the button.


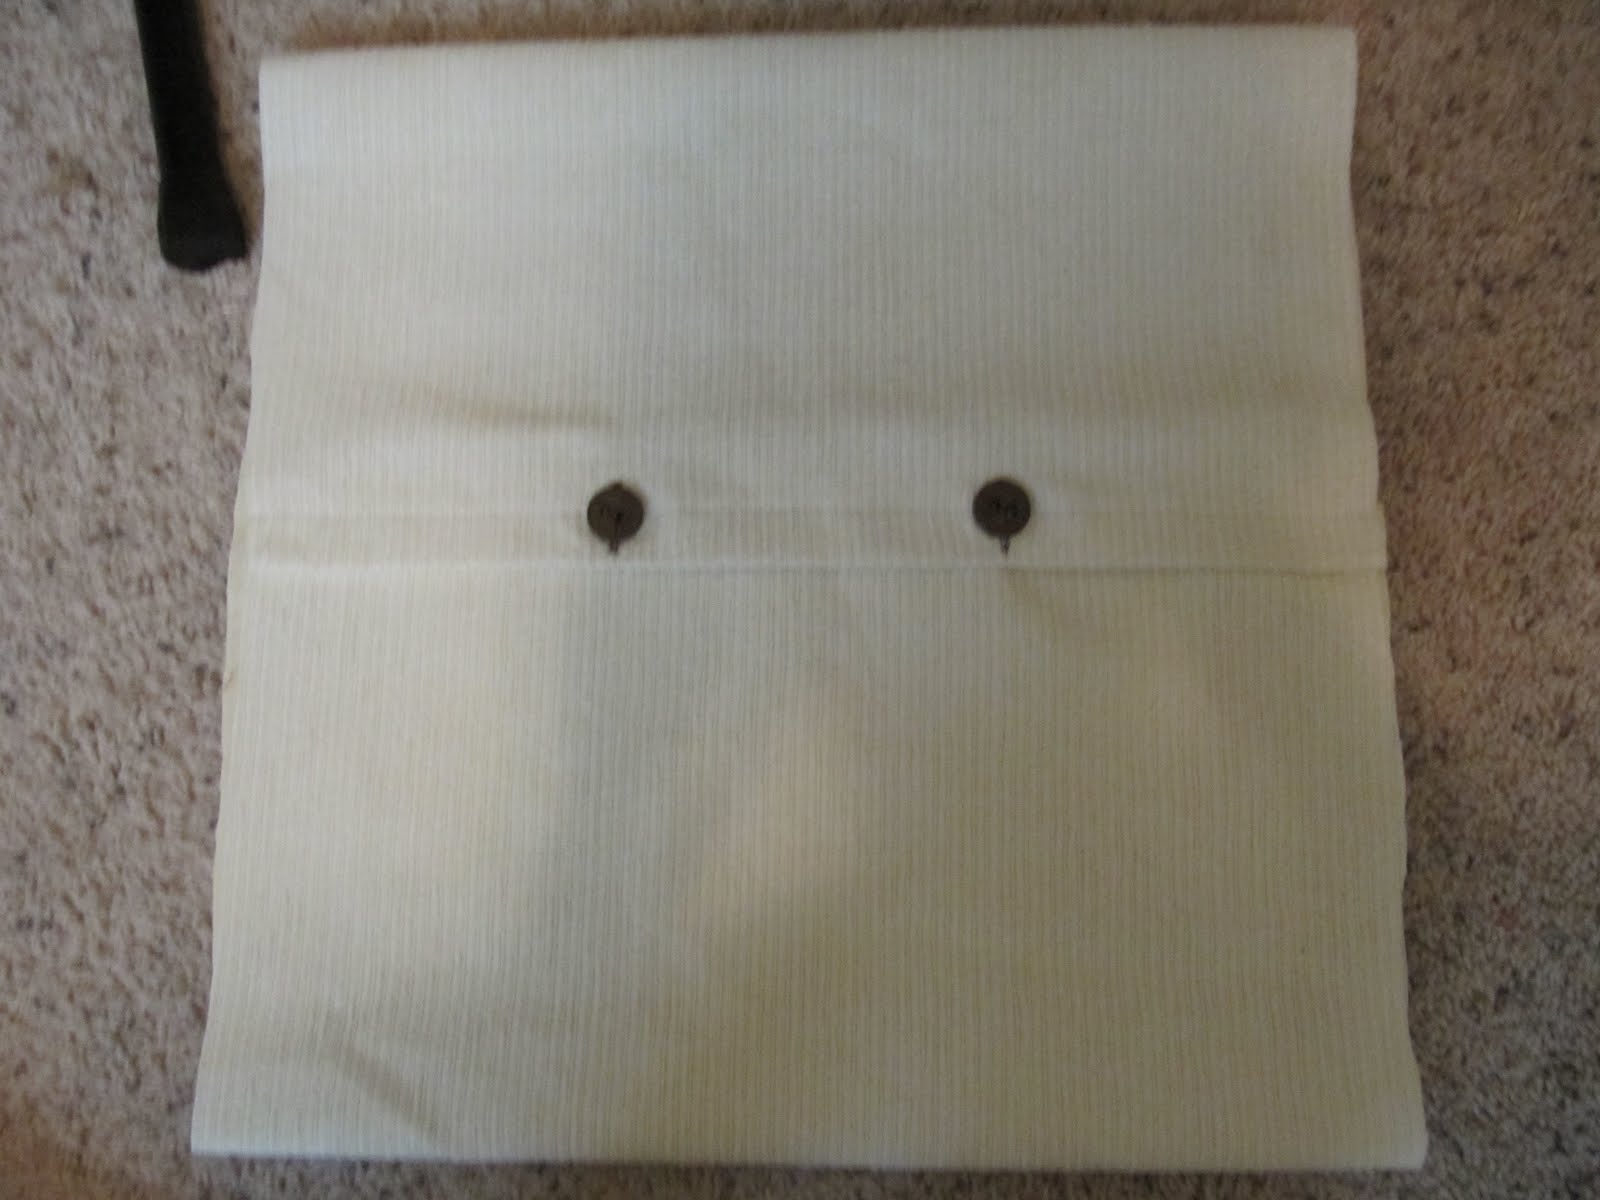
7. Your finished buttons should look like this!

8. Next step is to turn the pillow over and position your felt cut-out. Use pins to secure it to the pillow. Undo the buttons and sew the felt to the pillow using the same color of thread as the felt.


10. Once finished, the inside of your pillow should look like this:


11. Now, close the pillow and turn the whole pillow inside out. Sew the two sides with the raw edges, about 1/2 inch seams. Undo the buttons, turn the pillows right side out, and fill!


Candace, you are amazing! I LOVE your blog...every post! Don't ever stop!
ReplyDelete